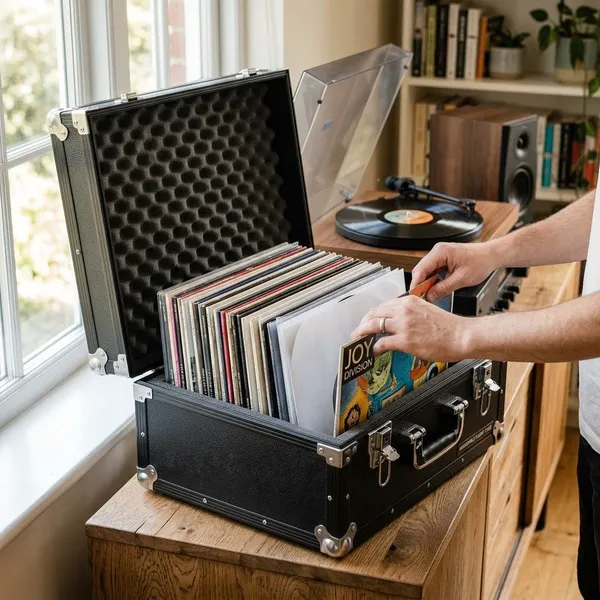
How to Clean Vinyl Records Safely Without Damaging the Grooves
A safe clean starts with the least aggressive method: brush away loose dust first, then use record-safe fluid only when fingerprints, haze, or stuck dirt remain. If you are learning how to clean vinyl records, the main rule is simple: follow the grooves, use light pressure, keep the label dry, and never put a damp record back in its sleeve.
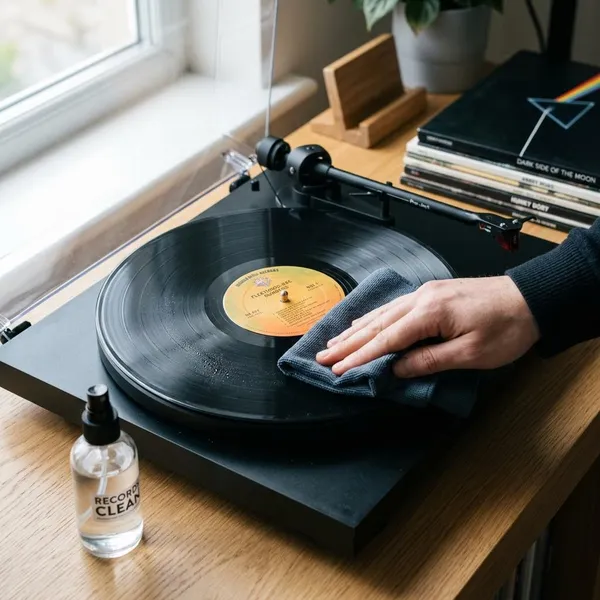
How to Clean Vinyl Records Quickly
For a record that already looks fairly clean, a quick routine is usually enough before playing it. Think of this as everyday maintenance, not a full restoration job.
Brush off loose dust
Use a carbon fiber record brush before the needle touches the surface. Let the record sit on the turntable or a clean flat mat, rest the brush lightly on the grooves, and avoid pressing down. Loose dust should be lifted away, not rubbed deeper into the groove.
Clean deeper dirt with record-safe fluid
If you see fingerprints, cloudy patches, or grime that does not move with a dry brush, switch to a small amount of record-safe cleaning fluid. Apply it to a soft pad or microfiber cloth rather than pouring it directly onto the record.
- Light dust only: dry brush first.
- Fingerprints or oily marks: use record-safe fluid.
- Unknown residue on a used record: clean more carefully before playing.
Let the record dry fully
A record should look dry under light before it goes near the turntable or sleeve. If you used any fluid, wipe away excess moisture with a clean microfiber cloth and give the grooves time to air-dry. Rushing this step can leave residue behind or transfer moisture into the sleeve.
Return it to a clean sleeve
Putting a clean record back into a dusty paper sleeve is one of the easiest ways to undo the work. If the old sleeve sheds fibers, smells musty, or has visible dirt inside, replace it with a clean anti-static inner sleeve.
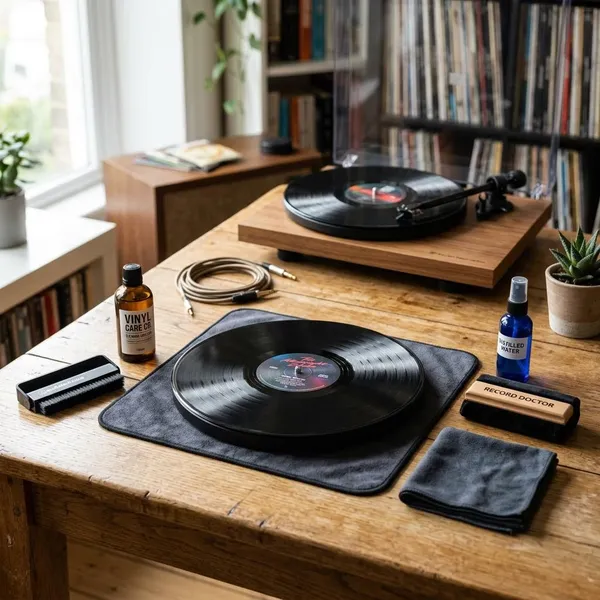
What You Need to Clean Vinyl Records
You do not need a professional setup for basic record care. A small, sensible kit is enough for most home listeners, especially if your records are already in decent condition.
Carbon fiber record brush
This is the tool to keep near the turntable. It removes light dust and helps reduce static before playback, which is especially useful in dry rooms where lint seems to land on records immediately.
Record-safe cleaning fluid
Use a fluid made for vinyl records, not a household glass cleaner, kitchen spray, or random homemade mix. A proper record cleaner is designed to loosen oils and grime without leaving the kind of film that can make playback noisier.
Distilled water
Distilled water is safer than tap water because it is less likely to leave mineral spots or residue in the grooves. It can be useful for a light rinse after cleaning fluid, but it still needs to be kept away from the paper label.
Soft cleaning pad or cloth
Choose a clean microfiber cloth, velvet pad, or applicator made for records. Keep one cloth for applying cleaner and another for drying; using the same dirty cloth over and over can simply move old grime from one record to the next.
Drying rack
A drying rack is helpful if you wet-clean more than one record at a time. It keeps records upright and separated while air reaches both sides. A stable, clean rack matters more than buying the most expensive version.
Clean inner sleeves
Fresh sleeves are worth buying if you pick up used vinyl from thrift shops, record fairs, or flea markets. A secondhand record may clean up nicely, but an old paper sleeve can add dust back the moment you slide the record in.
| Situation | What to use first | When to do more |
|---|---|---|
| Record played often at home | Carbon fiber brush | Wet clean only if noise or marks remain |
| New sealed record | Dry brush | Wet clean if there is paper dust or visible residue |
| Used record with fingerprints | Brush, then record-safe fluid | Replace the inner sleeve after cleaning |
How to Dry Clean Vinyl Records
Dry cleaning is the first step because it is quick, low-risk, and enough for many records. Use it before normal playback and before any wet cleaning.
Place the record on a stable surface
Set the record on the turntable platter or a clean record mat so it is fully supported. Handle it by the outer edge and the labeled center area. Touching the playing surface leaves skin oils that attract more dust.
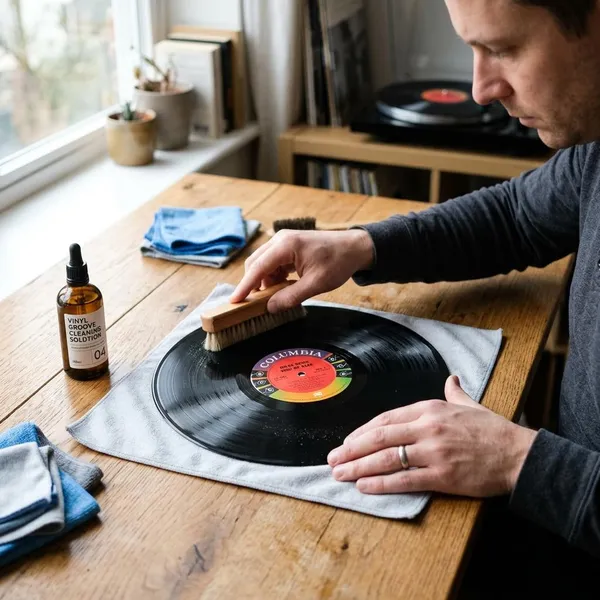
Brush lightly along the grooves
Hold the brush so the bristle tips make gentle contact with the spinning record. Let it sit for a rotation or two, following the groove direction. More pressure is not better; it can push debris around instead of lifting it.
Lift loose dust off the surface
After the brush has collected dust, angle it slightly and move the dust toward the outer edge. Clean the brush itself regularly, because a dusty brush can turn into a tool for spreading debris.
Check for dirt that needs wet cleaning
Use a bright light and look for marks that dry brushing cannot remove: fingerprints, cloudy film, sticky spots, or dirt sitting deeper in the grooves. If a record still crackles in the same visible dirty area after brushing, a hand clean is the better next step.
How to Deep Clean Vinyl Records by Hand
Deep cleaning by hand is best for used records, records with fingerprints, or albums that have been stored for years. It should still be gentle: remove dry dust first, use only a little fluid, and give the record enough time to dry.
Remove loose dust first
Dry brush before adding any liquid. If you wet a dusty surface right away, loose particles can turn into a muddy film and become harder to remove cleanly.
Apply a small amount of cleaning fluid
Dampen the cleaning pad, not the whole record. Work in controlled sections and keep the fluid away from the center label. A lightly damp pad is usually enough for a normal hand clean.
If the record came from a dusty crate or has unknown residue, do not try to fix everything with one heavy soak. Two gentle passes are safer than flooding the surface.
Clean gently along the grooves
Move with the groove path using light, even pressure. Avoid straight crosswise wiping, harsh scrubbing, or trying to polish the record like glass. If a mark does not come off easily, give the cleaner a little time to work if the product instructions allow it.
Keep liquid off the label
Paper labels can stain, bubble, or wrinkle when they get wet. For a valuable pressing, be extra cautious and keep the cleaning area well away from the label edge.
Remove leftover moisture
Use a clean, dry microfiber cloth and follow the grooves while lifting moisture away. Switch to a dry part of the cloth when needed. If you used more cleaner than expected, a careful distilled-water rinse can help reduce leftover cleaning residue.
Let the record dry completely
Stand the record in a clean drying rack until no moisture remains on the surface or in the grooves. The practical check is simple: look at it under light and do not sleeve it if you see damp patches, streaks, or a cool-looking wet sheen.
- Brush first so loose dust does not become wet grime.
- Use a damp pad, not a soaked record.
- Follow the grooves with light pressure.
Dry fully before playback or storage.
How to Keep Vinyl Records Clean Longer
The easiest records to clean are the ones that never get very dirty. Better handling and storage reduce how often you need wet cleaning, which is good for both the vinyl and your patience.
Handle records by the edges
Hold records by the outer rim and the center label. This one habit prevents most fingerprints, and fingerprints are much harder to remove than ordinary dust.
If other people in the house use the turntable, this is the first rule worth teaching. It is a small habit that prevents a lot of unnecessary cleaning later.
Store records upright
Store records vertically, supported, and not packed so tightly that you have to force them in and out. Avoid direct sun, heaters, damp corners, and hot rooms, since poor storage can create problems cleaning cannot fix.
Use clean inner sleeves
Replace rough, dusty, or torn paper sleeves after cleaning a record. For an occasional listener, this may only matter for favorite albums; for someone buying used records every week, clean sleeves are part of the basic routine.
Keep records away from dust
Keep records in their jackets when not in use and close the turntable dust cover when practical. Open shelving in a dusty room means more brushing, more static, and more debris reaching the grooves.
Keep the stylus clean
A dirty stylus can drag debris through clean grooves. Use a stylus brush or approved stylus cleaner carefully, moving in the direction recommended for your cartridge. Avoid side-to-side brushing or touching the stylus with your fingers.
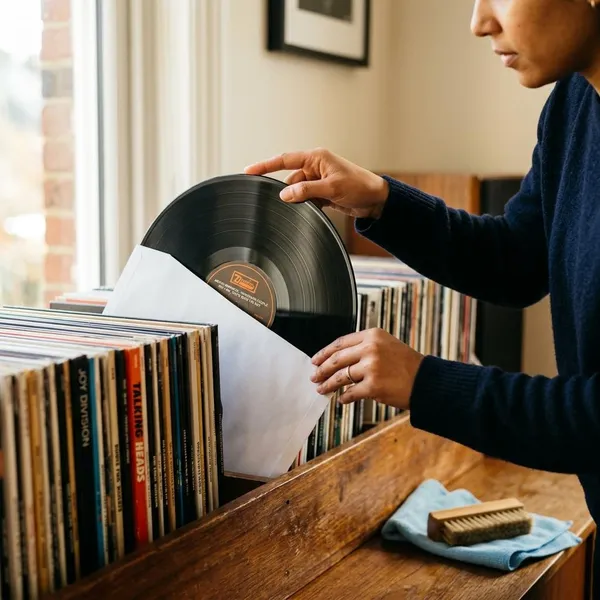
Conclusion
Start with the gentlest fix and only move up when the record actually needs it: dry brush for loose dust, record-safe fluid for fingerprints or stuck grime, and full drying before storage. If a record is clean enough to play quietly, do not overwork it; the better long-term habit is careful handling, clean sleeves, upright storage, and a stylus that is not carrying yesterday's dust into today's grooves.
FAQ
Can you clean vinyl records with water?
Yes, but distilled water is the safer choice. Tap water can leave mineral residue, and any water should be kept away from the label and dried fully before storage.
Is alcohol safe for cleaning vinyl records?
Do not use strong household alcohol or alcohol-based cleaners unless the product is specifically made for vinyl records. If you are unsure, choose a record-safe fluid instead of experimenting on a record you care about.
Should you clean new vinyl records before playing them?
Often, yes. A quick dry brush is usually enough, but a new record with paper dust, visible residue, or noisy playback may benefit from a gentle wet clean before repeated plays.
How long should vinyl records dry after cleaning?
Dry them until the grooves show no visible moisture under light. After wiping with microfiber, give the record extra air-drying time rather than putting it back while it still looks damp.
Is a record cleaning machine worth it?
It is worth considering if you buy used records often or clean large batches. For a small collection in good condition, careful hand cleaning is usually enough.