How to Care for Vinyl Records and Make Them Last
The easiest way to make vinyl records last is to stop dirt, pressure, and heat from becoming everyday habits. Handle the grooves as little as possible, brush off loose dust before play, keep the stylus clean, and put each record back into a sleeve as soon as you are done. If you are learning how to care for vinyl records, those small repeated choices matter more than owning every cleaning tool.

How to Care for Vinyl Records Every Day
Daily care should be simple enough that you actually do it. A collector who plays records every evening needs a slightly stricter routine than someone who pulls out one album on the weekend, but the order is the same: keep hands off the grooves, remove loose dust, check the stylus, and put the record away cleanly.
Think of everyday care as prevention, not deep cleaning. Most records do not need wet cleaning after every play, and overdoing it can create new problems if you use too much liquid or a dirty cloth.
Handle records by the edges
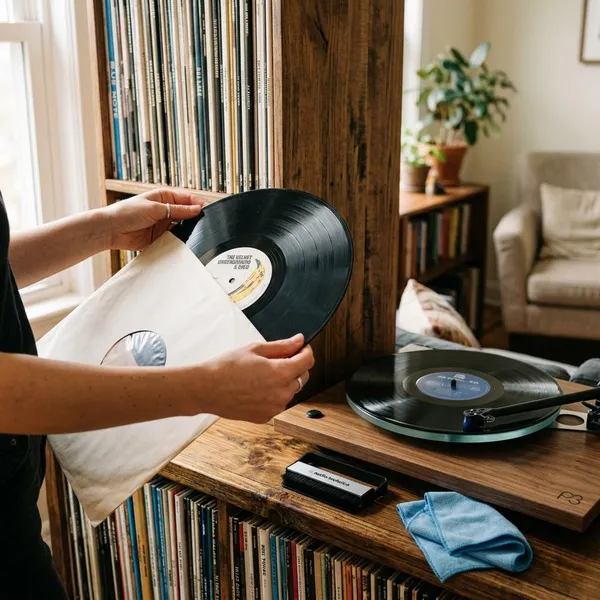
Hold the outer edge and the center label, not the playing surface. Finger oils are not always visible, but they attract dust and can settle into the grooves, especially on records you play often.
Brush off dust before playing
A quick pass with a carbon fiber or anti-static record brush before playback is one of the highest-value habits. Let the record rotate, rest the brush lightly on the surface, and lift the dust away instead of pressing down.
This matters more in dusty rooms, homes with pets, or dry winter air where static builds quickly. If the record looks clean but sounds suddenly crackly, check for loose dust before assuming the pressing is bad.
Keep the stylus clean
A dirty stylus can make several records sound noisy in a row, so check the needle when playback changes suddenly. If you see lint or buildup, clean it with a stylus-safe tool before playing another side.
Return records to their sleeves
Once a record is finished, put it back into a clean inner sleeve rather than leaving it on the platter. Exposed vinyl collects dust quickly, and the risk of a sleeve scuff is usually lower than the risk of leaving the record out where it can be touched, bumped, or covered in pet hair.
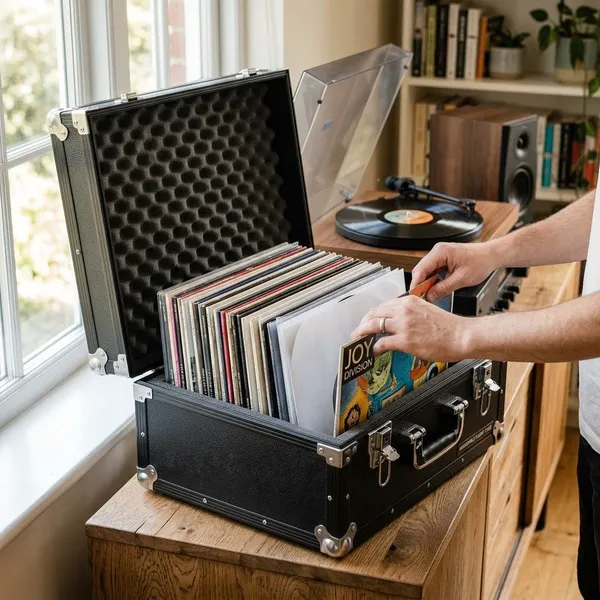
Store records upright
Store records vertically with enough support to keep them from leaning hard to one side. Upright storage protects both the vinyl and the jacket, while flat stacks put pressure on the records at the bottom and make warping more likely over time.
How to Handle Vinyl Records Safely
Safe handling is where many scratches and fingerprints are prevented before they happen. The record is most vulnerable when you remove it from the sleeve, cue the stylus, and put it away again, so slow down during those moments instead of rushing through them.
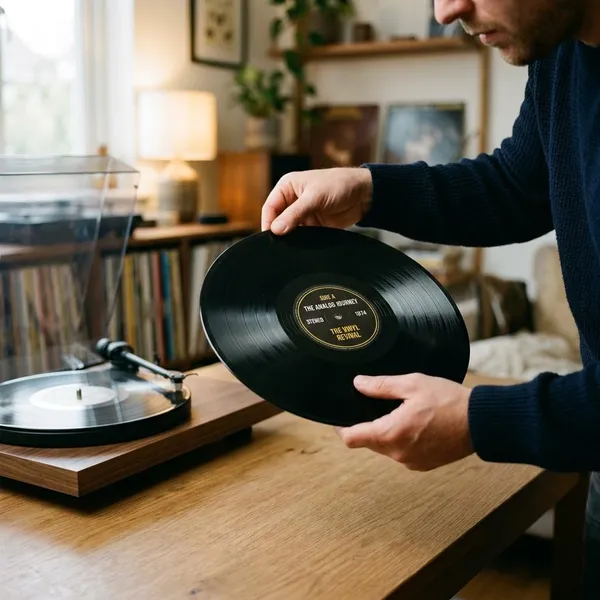
Touch only the edges and label
The safest grip is edge plus label: one hand supports the outer edge while the other steadies the center. This gives you control without touching the grooves. It is especially useful with glossy new records, which show fingerprints fast, and older used records, where extra grime can make existing noise worse.
Keep your hands clean and dry
Wash and dry your hands before handling records if you have been eating, cooking, cleaning, or using lotion. Damp hands can also mark labels and make your grip less secure, so dry matters as much as clean.
Remove records gently from sleeves
Do not pinch the grooves and pull. Tilt the jacket slightly, let the inner sleeve slide into your hand, then ease the record out by the edges. If an old paper sleeve feels tight or dusty, replace it after the record is out rather than forcing the same sleeve back into service.
- For everyday records: a smooth, careful pull is usually enough.
- For valuable or fragile pressings: take extra time and avoid dragging the surface across rough paper.
Lower the stylus carefully
Use the cue lever if your turntable has one. It lowers the stylus more steadily than most hands can, reducing hard drops, bounced landings, and accidental scratches near the lead-in groove.
If you cue by hand, aim for the lead-in groove and move slowly. Dropping into the middle of a track is possible, but it leaves less room for error and is not the best habit for beginners.
Resleeve records after playing
Resleeve the record once playback is finished and the platter has stopped. Guide it in gently, and if the sleeve has grit, tears, or rough paper dust, change the sleeve rather than putting a clean record back into a dirty place.

How to Store Vinyl Records Properly
Storage damage is slow, which is why it is easy to ignore until a jacket is warped, faded, or split. The best storage setup is not complicated: records should stand upright, have a little breathing room, sit in clean sleeves, and stay away from heat, sunlight, and damp rooms.
Keep records upright
Vertical storage is the right default. Use a sturdy shelf or dividers so the records stand mostly straight instead of leaning in a heavy curve. A short lean while browsing is not a crisis, but months of pressure at an angle can stress jackets and records.
Avoid tight packing
If you have to tug hard to remove an album, the shelf is too full. Tight packing causes jacket scuffs, corner wear, and seam pressure, and it makes you more likely to rush while pulling records out.
A good test is simple: you should be able to slide one record out with one hand while the row stays supported. If the whole row shifts or fights back, make more space.
Use clean inner sleeves
Inner sleeves touch the record directly, so they matter more than they look. Old paper sleeves can shed dust or create light sleeve marks; anti-static or poly-lined sleeves are a practical upgrade for records you play often.
If the original printed sleeve has lyrics or artwork, keep it with the jacket and store the record in a separate clean sleeve. That protects both the disc and the original insert.
Protect covers with outer sleeves
Outer sleeves are mainly for the jacket, not the sound. They reduce shelf scuffs, fingerprints, ring wear, and wear on special covers, which is worth it if you care about artwork or resale condition.
Keep records away from heat and sunlight
Heat is one of the fastest ways to ruin vinyl. Avoid sunny windows, radiators, heating vents, fireplaces, hot electronics, and cars. A record left in a warm car for "just a while" is a higher-risk situation than a record sitting on a shaded indoor shelf for years.
Keep records in a dry, stable room
Choose a room that stays reasonably cool, dry, and consistent. You do not need museum-level climate control, but you should avoid places with big seasonal swings, musty smells, or visible moisture problems.
For long-term storage, a dry bedroom or living room shelf is usually better than a basement corner. If jackets start smelling musty or feel wavy, treat that as a warning sign and move the collection.
How to Clean Vinyl Records Safely
Cleaning should match the condition of the record. Light dust usually needs a dry brush; fingerprints, visible grime, smoke residue, or noisy used records may need a controlled wet clean. Start with the least aggressive method that solves the problem.
Remove loose dust first
Always remove loose dust before using any fluid. Dry debris can behave like grit if you rub it around wet, so give the record a light brush under good light before deciding whether deeper cleaning is really needed.
Use record-safe cleaning fluid
Use a cleaner made for vinyl records or a trusted record-cleaning system. Avoid bleach, household sprays, strong solvents, and ordinary tap water, which may leave mineral residue depending on your water quality.
If you are cleaning a cheap used record for the first time, a record-safe wet clean can be sensible. If the record is rare or expensive and has serious grime, it is better to use a reliable cleaning method or machine than experiment with random DIY mixtures.
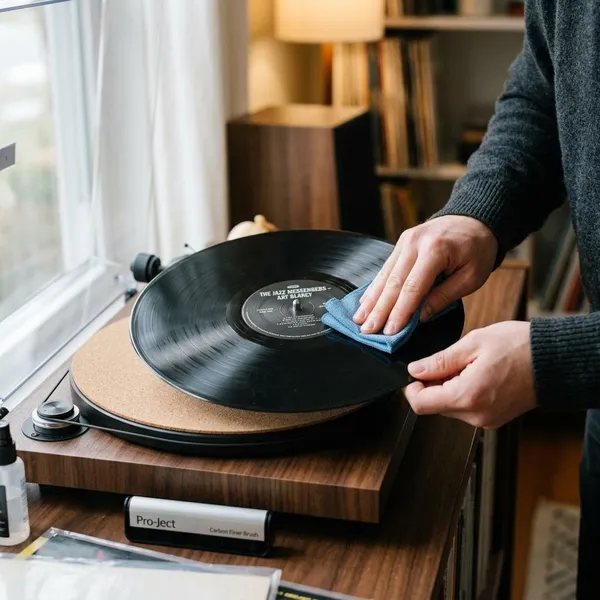
Clean gently along the grooves
Work in the direction of the grooves with light pressure. The goal is to lift dirt, not scrub the record into submission.
- Brush away loose dust first.
- Dampen a record-safe pad or microfiber cloth lightly.
- Keep the motion circular with the grooves.
- Use a clean section to lift loosened residue.
- Move the record to a clean, low-dust drying spot.
Keep liquid off the label
Labels can stain, wrinkle, or bubble when wet. Apply fluid to the cleaning pad rather than spraying the record heavily, and work with control near the center.
Let records dry completely
Do not put a damp record back into a sleeve. Even slight moisture can trap residue, mark paper, or encourage musty smells in humid rooms. Wait until the surface is fully dry, then use a clean inner sleeve so you do not reintroduce dust immediately.
How to Care for Your Turntable Stylus
The stylus is small, but it affects every record you play. A clean LP can still sound rough if the needle is carrying lint or buildup, and a dirty stylus can drag debris through the groove instead of tracking cleanly.
Stylus care should be gentle and regular, not aggressive. The cantilever is delicate, so the right direction and the right tool matter more than pressure.
Check the stylus for dust
Look at the stylus under a bright light before longer listening sessions, especially after playing used records or albums from old paper sleeves. If several records suddenly sound dull, fuzzy, or distorted, inspect the stylus before blaming the records.
Use a proper stylus brush
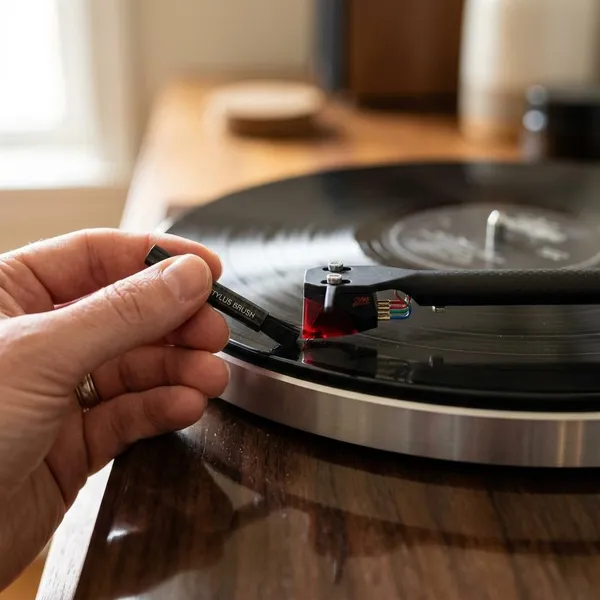
Use a stylus brush or cleaner made for turntable needles. Do not use fingers, tissues, cotton swabs, or household brushes, which can leave fibers, push the cantilever sideways, or add residue.
Brush from back to front
Brush from the back of the stylus toward the front, following the same direction the record moves under the needle. A few light strokes are safer than one firm push. Avoid side-to-side motion, and do not brush from front to back toward the cartridge.
Clean the stylus regularly
Clean it when inspection shows dust or when sound changes across multiple records. Occasional listeners may only need to do this now and then, while daily listeners or people who buy lots of used vinyl should check more often.
Conclusion
Good vinyl care is mostly about avoiding the damage that sneaks in through routine: dusty playback, fingerprints, poor sleeves, heat, and careless cueing. If you build a simple habit around clean handling, upright storage, gentle cleaning, and stylus checks, you do not need to make record care complicated to keep a collection sounding better for longer.
FAQ
Should vinyl records be stored flat or upright?
Store vinyl records upright. Flat stacking puts weight on the records at the bottom, while upright storage with light support is safer for long-term shape and jacket condition.
How often should you clean vinyl records?
Brush off light dust before playing, and wet clean only when there are fingerprints, visible grime, or noise that brushing does not fix. Used records often deserve a proper clean before their first play.
Do new vinyl records need cleaning?
New records can need light cleaning. Sealed vinyl may still have dust, static, or packaging particles, so a quick dry brush before the first play is a smart check.
Is alcohol safe for cleaning vinyl records?
Some record-cleaning products contain carefully formulated alcohol, but improvised strong alcohol mixtures are risky. Use a cleaner made for vinyl and follow its directions.
Is dish soap safe for vinyl records?
Dish soap is not the best choice because it can leave residue if it is not rinsed perfectly. A record-safe cleaning fluid is more predictable and easier to control.